

My style of embossing is free-hand and free-style. Unless illustrating by example some technique or interesting embossing tool, I use only one very basic tool — a very tiny ball-tipped embossing stylus, and that’s about it.
Once in a while, I’ll use the nylon tip on the other end of my basic tool to make a larger dip in the metal from the back side, but other than that, it’s just one tool and the movement of my hands and fingertips.
You can’t just “straight draw” on metal, even foil. It doesn’t LIKE to be pushed around, and it will fight you and make you go crinkly and lumpy and weird.
Curved lines are the bane of every engraver. Spend a few hours mastering it before you screw up hundreds of pieces that COULD have worked, had you taken the time to discover how to make curved lines work in metal foil.
If you’re working in the thicker material, you’ll have to find your own way. It’s not easy to work that stuff, and anything thicker than .36 gauge will probably defeat any beginner, although there’s always beginner’s luck.
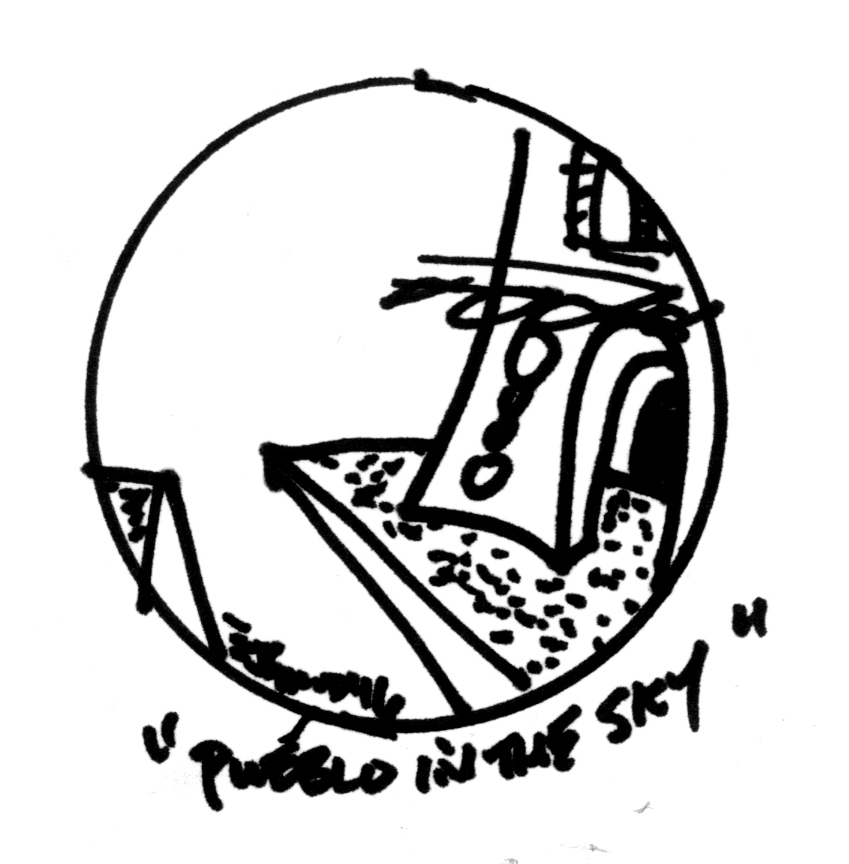
“Pueblo in the Sky”, illustrated above, uses straight lines against curves to achieve its effect. You start by drawing in the sidewalks, then add the building on the right, starting with the left top and working your way toward the doorway, actually a triple arch, if you’ll take notice. The dots on the sidewalk can also be circles or squares, to add to the illusion of depth.
Straight lines are easy to emboss free-hand on foil. They will tend to look exactly the same as your drawings on paper. As a matter of fact, even your sculptures and ceramics will reflect your drawing skills or lack of them.
If you’re not very good at drawing, try some of my art books on the subject. I can help anyone learn to draw, even if they can’t even draw a stick-figure. Continue reading