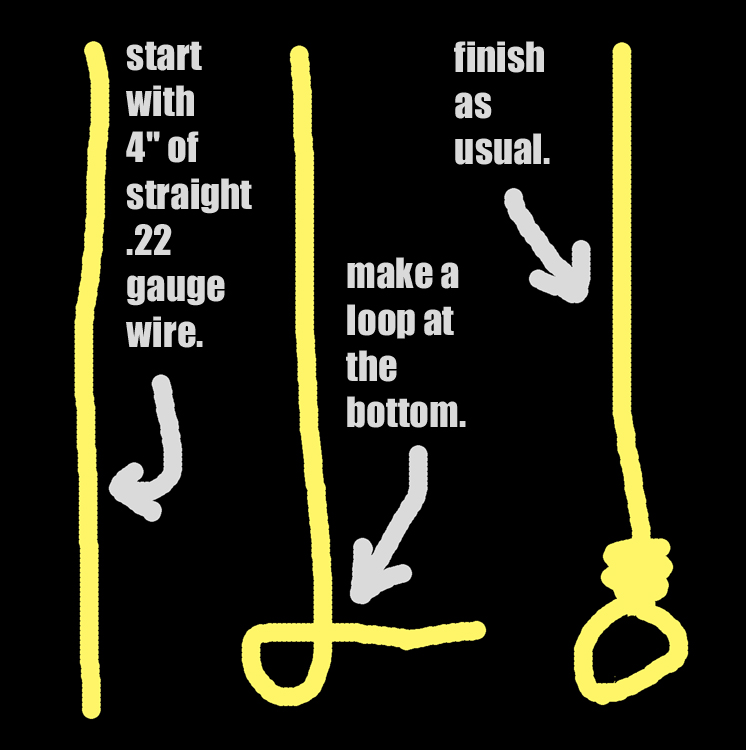
You’ll need to start with a good generous piece of straight .22 gauge wire, at least 4″ in length, until you get the “feel” of what length is good to work with. Don’t forget that almost all your scrap can be employed somewhere, somehow or another, mangled or not.
Ideal scrap length for .22 gauge is around 2″, or about 50mm, so as ye cut, so also shall ye reap.Continue reading →
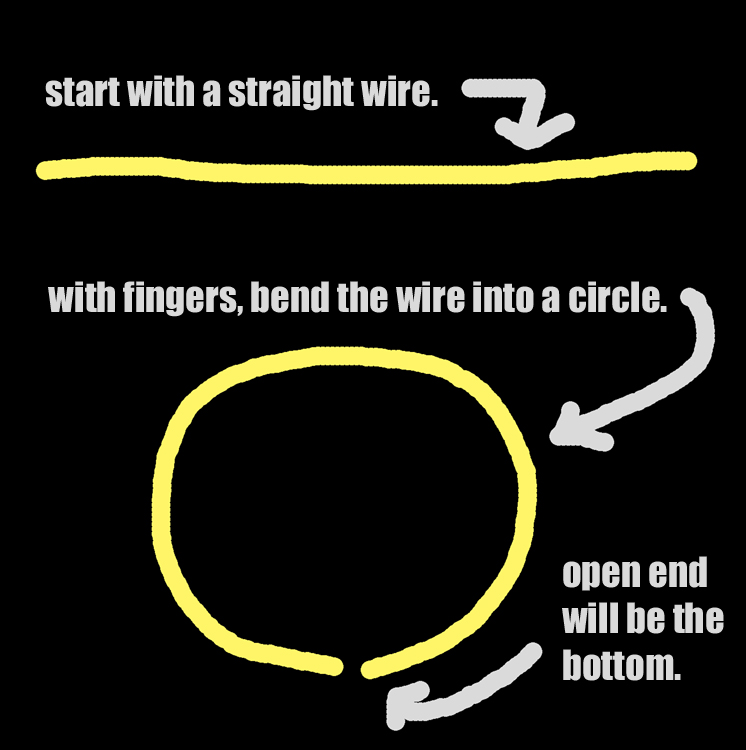
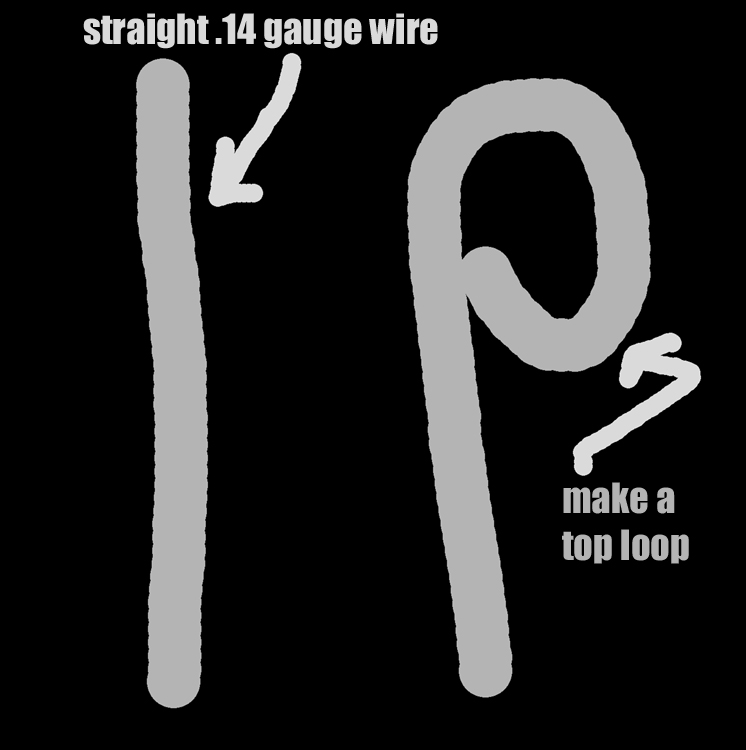
Start with a piece of straight .14 gauge silver or .16 gauge copper wire. With your fingers only, bend the wire into a circle with a small gap between the ends, about 6mm apart, roughly 1/4″ of space between the ends of the wire. Continue reading →
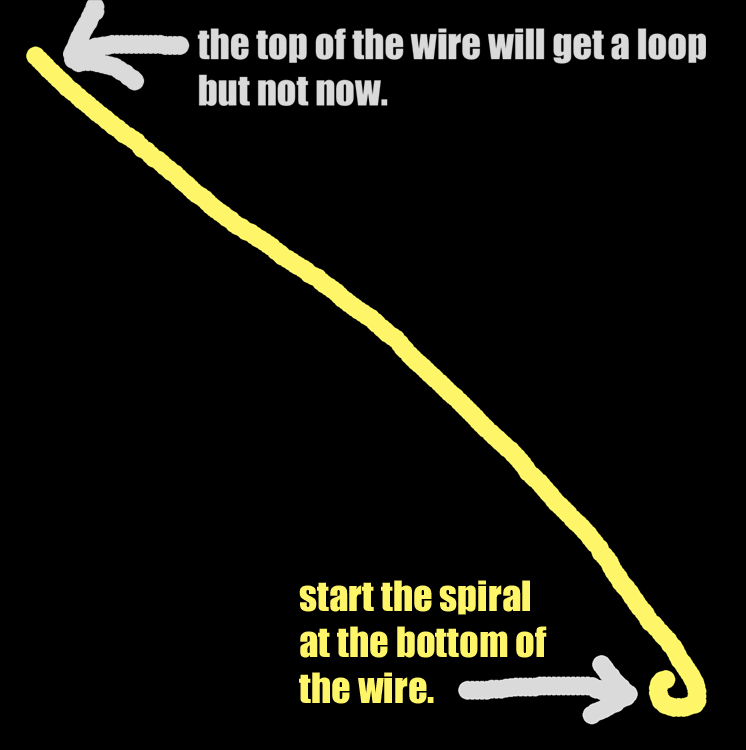
Start winding your spirals at the BOTTOM of the wire.
Start winding your spirals at the BOTTOM of the wire, not the top. You will put a hanging loop at the top later on, but NOT NOW.
Take hold of the wire GENTLY with your needlenose pliers, and slowly and gently COAX the wire into a spiral shape by moving it SIDEWAYS to form the first spiral. Continue reading →
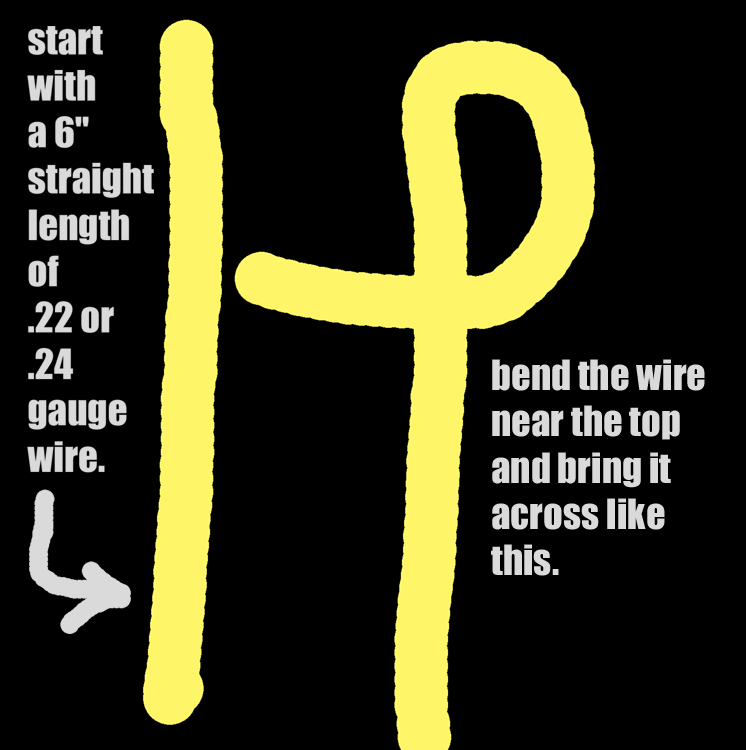
Start out with a 6″ straight .22 or .24 gauge wire.
The first choice comes when you select two stones for your Hellenistic earrings. Try the .22 gauge wire first. Gently push the wire through the drill-hole in the bead to see if it will work. If EITHER bead is reluctant to accept the .22 gauge wire, switch to the much thinner .24 gauge wire.
The Greeks, Romans, Egyptians, Sumerians and Babylonians were incredible builders and engineers. This earring depends upon a bridge-engineering discovery they made many tens of thousands of years ago, that translates into bead technology as: a vertical wire will support a bead better than a horizontal wire.Continue reading →
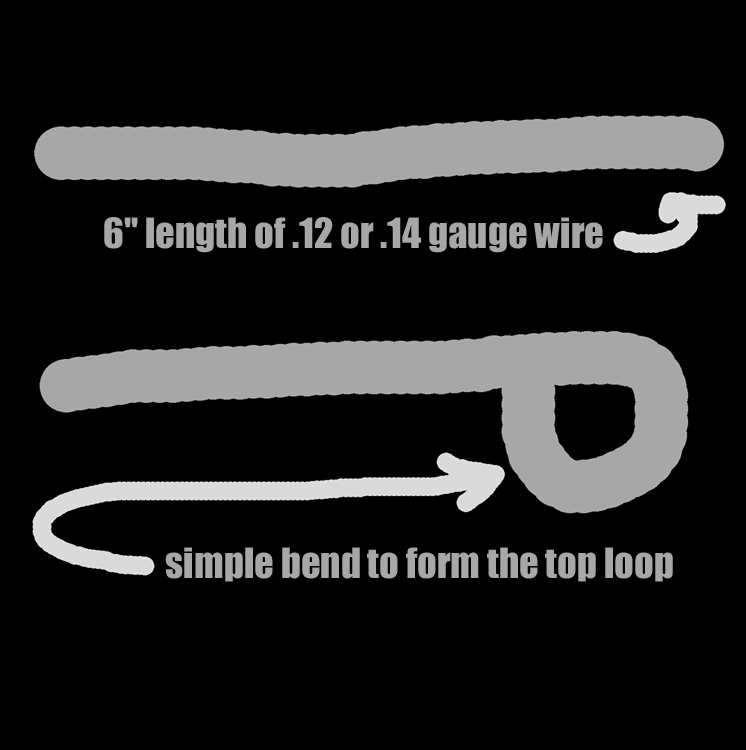
It’s easy to make a pendant from a single piece of wire. Later, we’ll see how to use several pieces of differing dimensions to create a more complex form, but here’s the simple solution to a real Iron-Age Pendant.
Start with a 6 inch length of .12 gauge or .14 gauge wire.
With your needlenose pliers, gently COAX the wire into a nice, wide loop, big enough inside to accommodate not merely a chain, but the clasp of a chain as well. Like I said, big, roomy, lots of space in there. Continue reading →
It’s so incredibly easy to make your own solid sterling silver or gold-filled earwires, so why not? And they make your earrings look great! There’s nothing like hand-crafted earwires to really make people sit up and take notice, and I’m NOT kidding! Continue reading →
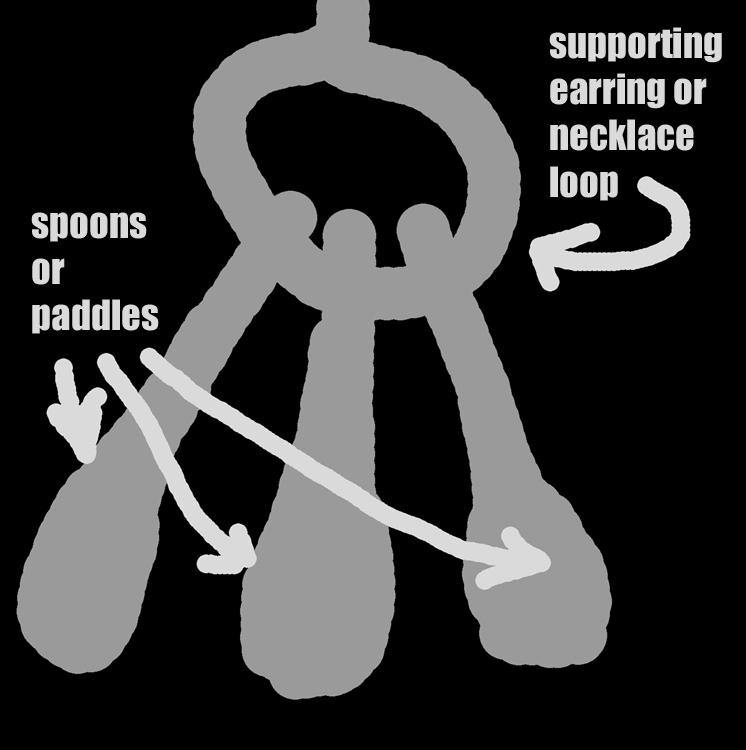
This is the basic idea — several independent elements hanging on a main frame.
You can leave a large loop at the bottom of your earring element, so you can hang some dangling bits, called “spoons” and “paddles”, depending upon whether they are beaten or hammered with the ball part of your ballpein hammer, or the pein — flat — part.
A flat dangly bit is a paddle. A curved dangly bit is a spoon. I prefer paddles, because they’re easier and quicker to make and they run little risk of ending up sharp. Spoons must be hand-polished, paddles need no polish if made correctly.
I will run you through the drill for making paddles. Don’t forget that the only different between paddles and spoons is which end of the hammer-head you employ for the hammering.
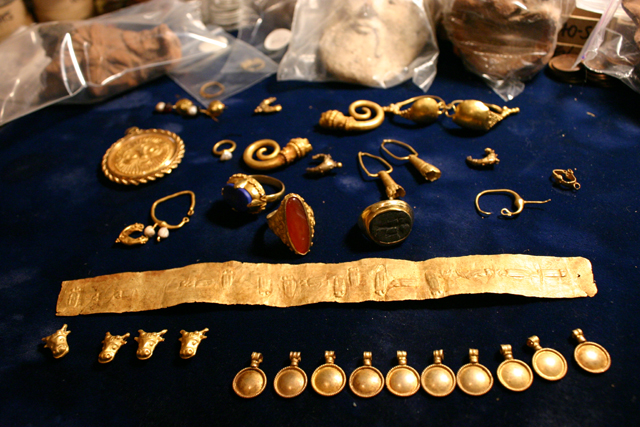
Studying actual ancient gold jewelry to understand how simple techniques can achieve powerful results.
Jewelers in ancient times had various tools available to them, depending upon the culture, the level of culture, the opportunities available to them or to their friends and families, but mostly it rested upon the traditions passed on through the generations.
Jewelers today have the same practices — many secrets are guarded and passed on only from father to son, mother to daughter, aunt or uncle to nieces & nephews. In short, they trust only family with these secrets.
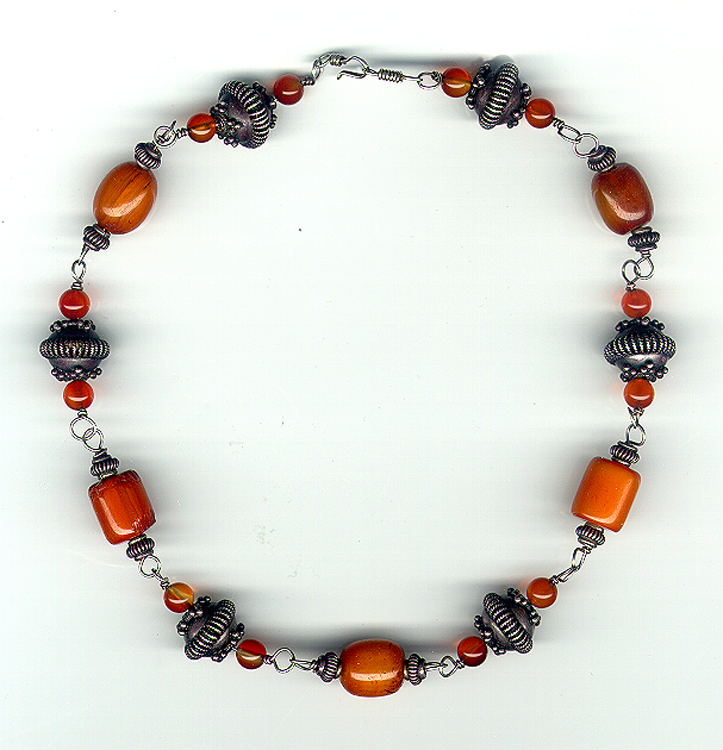
.925 modern silver linkage — Medieval Amber, Modern amber rounds & .999 fine Silver Granulation.
Linking is very basic for anything constructed of wire, and you’d be well-advised to master this skill by making many, many links in copper before trying your skill on silver and gold. How you link is, first cut a convenient and easy to handle length of .22 gauge wire, about ten to twelve inches long.
With your flush-cutter, clip off the very end of the wire with the flush side toward the larger piece. Cut off as LITTLE as possible — every bit of weight counts, both with precious gemstones and precious metals.
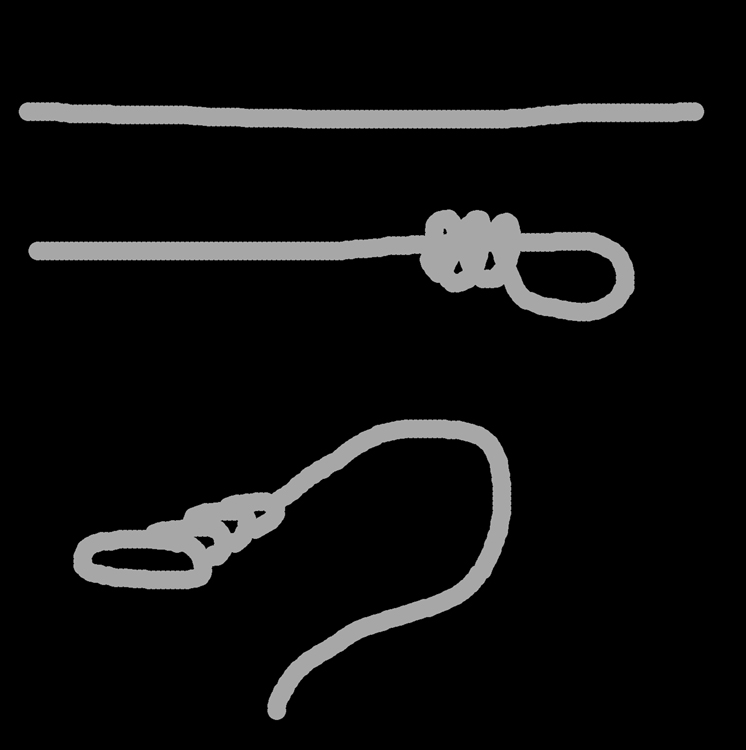
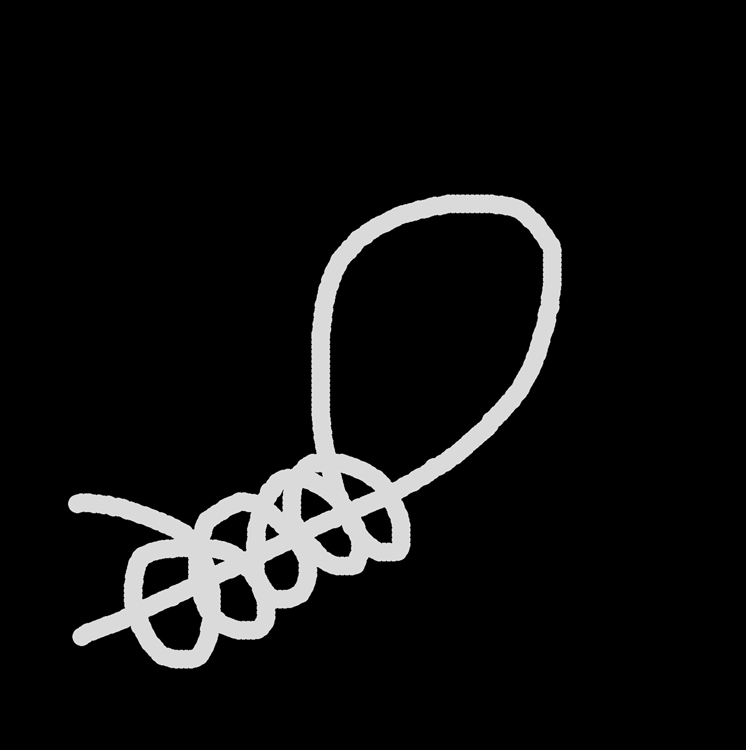
Using your needlenose pliers, place the tips about 2 inches from one end of the wire, and gently coax the wire into a bend back onto itself, and then deftly turn the wire and wind it around itself, as shown in the illustration below:
Loop the wire back upon itself and wrap the wire closely together side-by-side to make it look right.